websites, databases, graphic design, multimedia, illustration, 3D, animation, welding, koi ponds, water gardens, bbq, and cars - these are the kinds of things i may very well write about in my blog


This is a follow-up post to my original koi pond post. Here, I've detailed the construction process with a few notes about lessons learned and so forth. I'll be doing another post that concentrates on the rest of what I've learned from this experiment. If you're looking to build your own pond, shoot me an email. I'd be happy to give you a free consultation and compare notes.
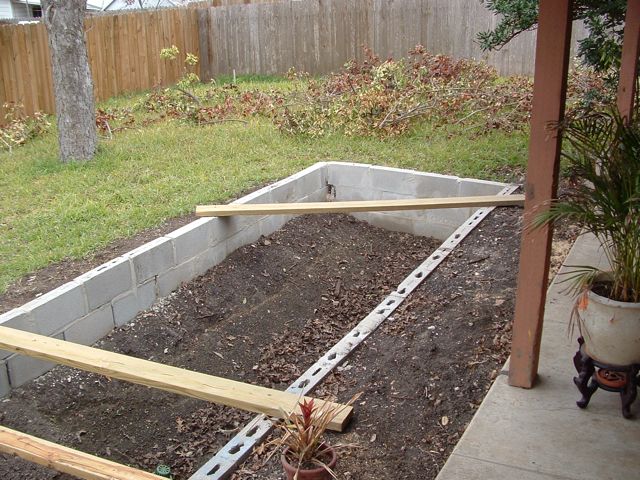
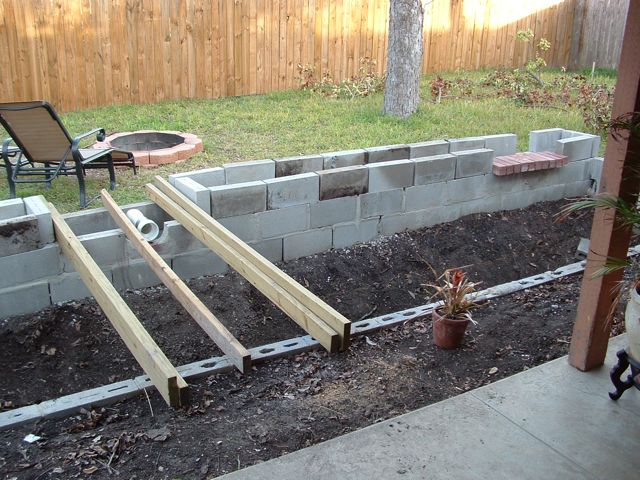
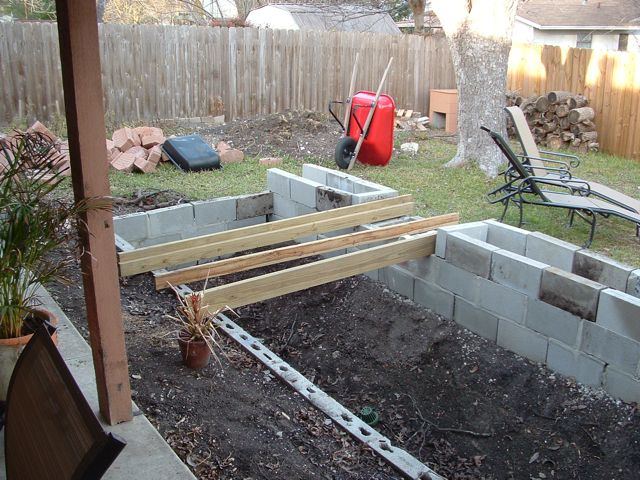
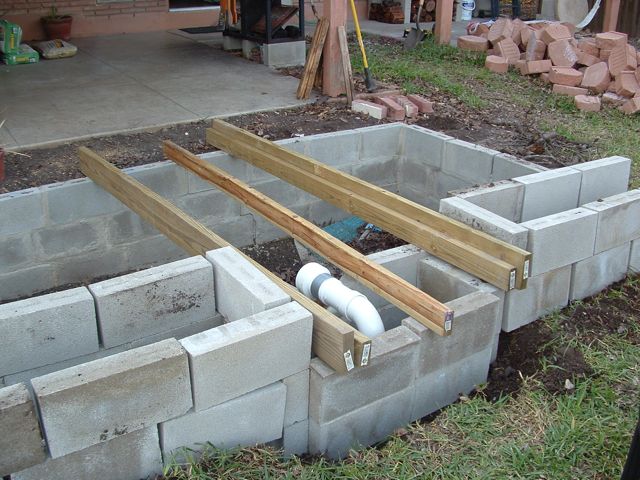
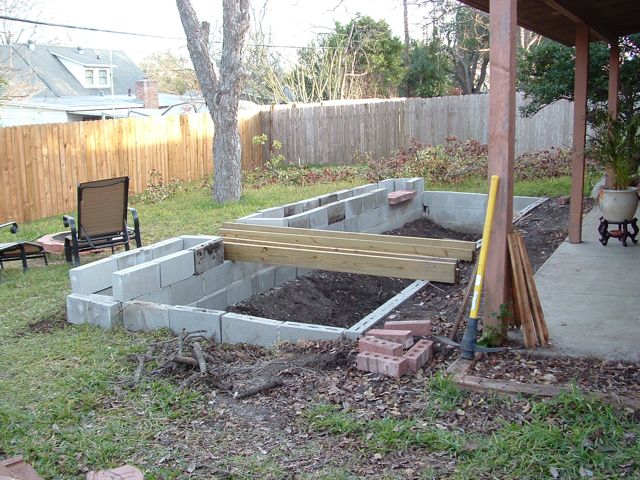
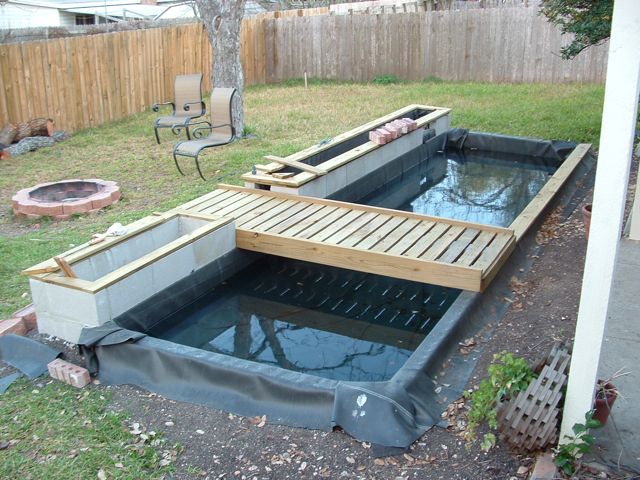
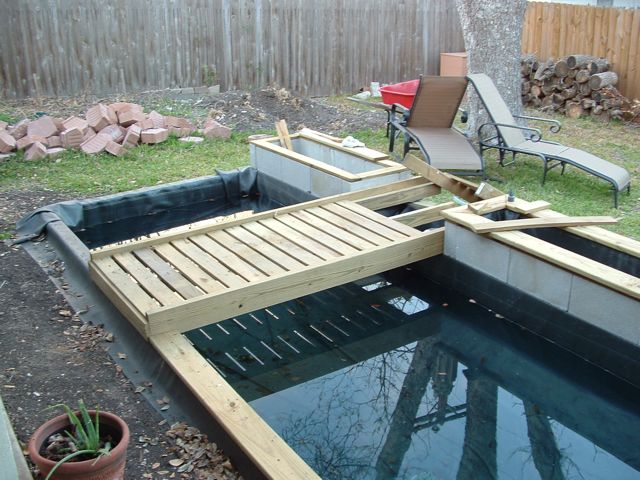
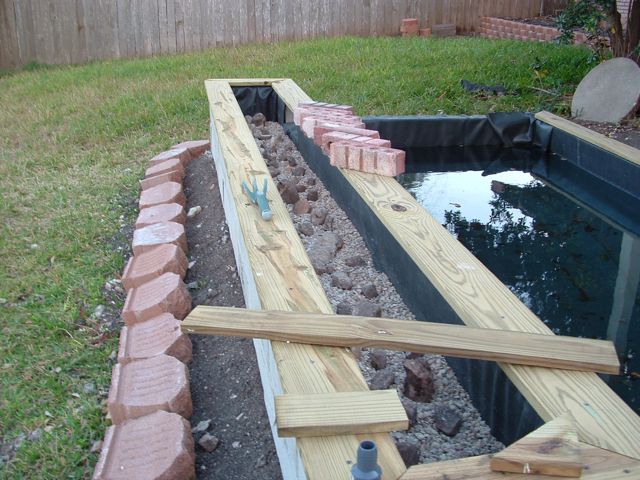
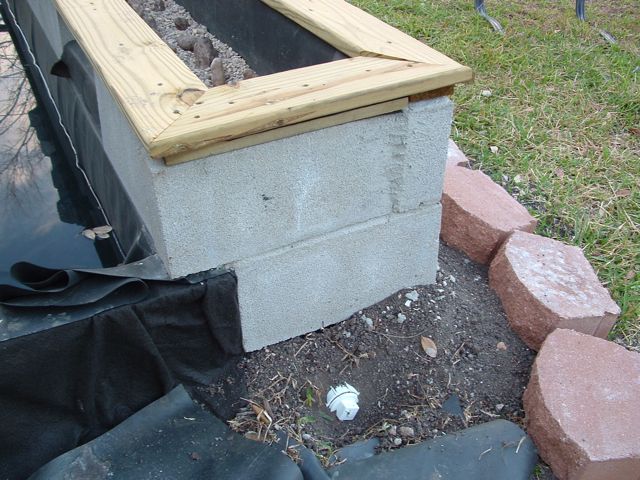
Naturally, it starts by digging a hole. We had some erosion problems near one corner of our house so I used the dirt to fill in that low spot. The sides of the pond were lined with cinder blocks with rebar driven through the blocks and into the ground for added stability. Hit the next button in the slide show above to see more.