websites, databases, graphic design, multimedia, illustration, 3D, animation, welding, koi ponds, water gardens, bbq, and cars - these are the kinds of things i may very well write about in my blog


I handload my own ammunition because it might be cheaper in the long run compared to buying high quality ammunition and because you can fine tune your loads for the best accuracy. In the process, I created a little web app that allows you to quickly and easily generate your own data collection forms. Just fill out the form as shown below and hit the button. Then just bring a pencil or pen with you to the range and record your results.
")
Here's the link:
http://jackpalmer.us/user/dev/target_data_form.cfm
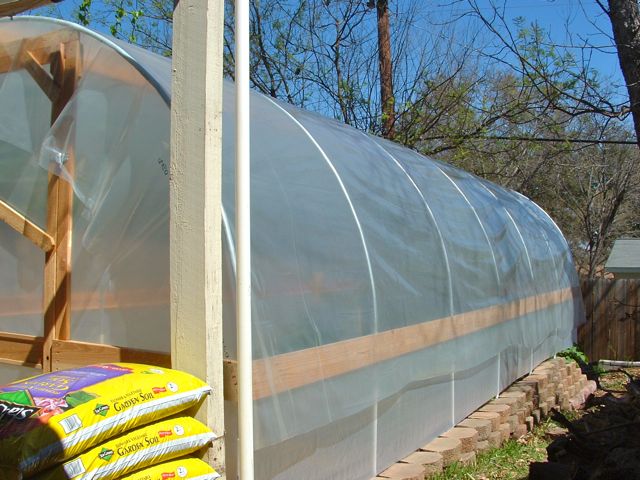
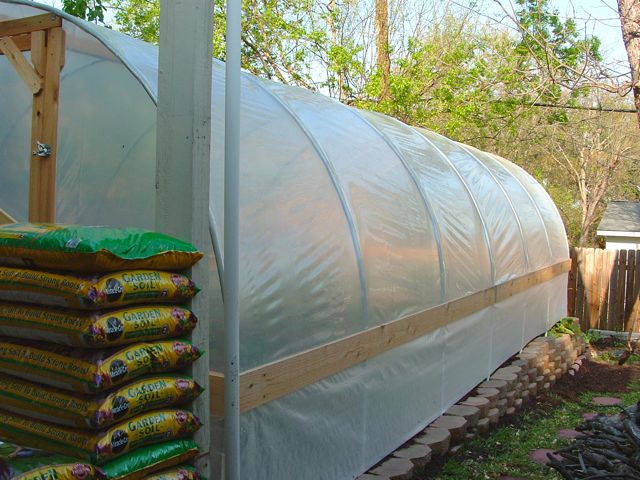
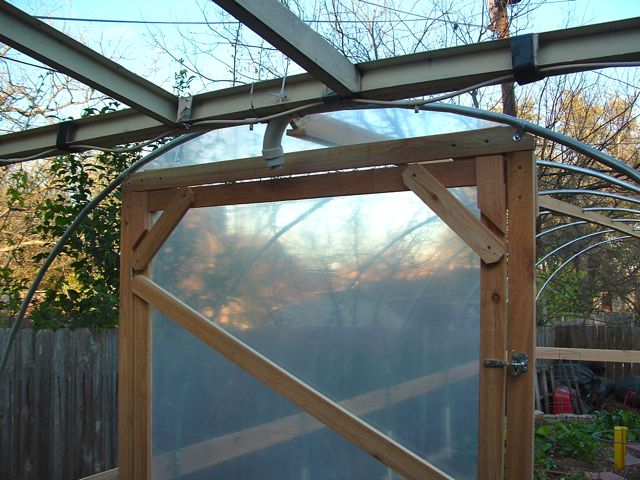
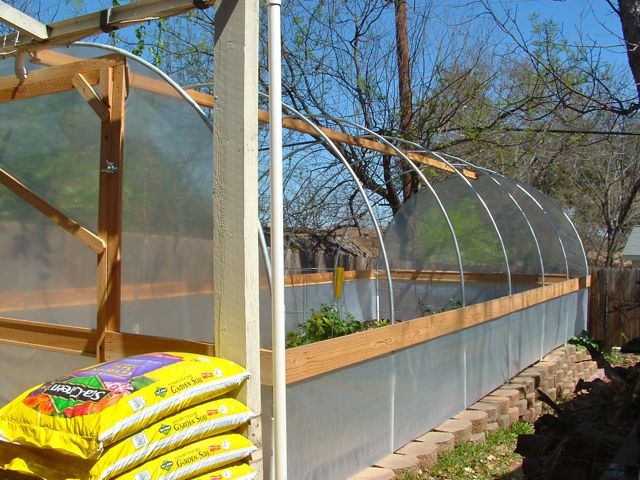
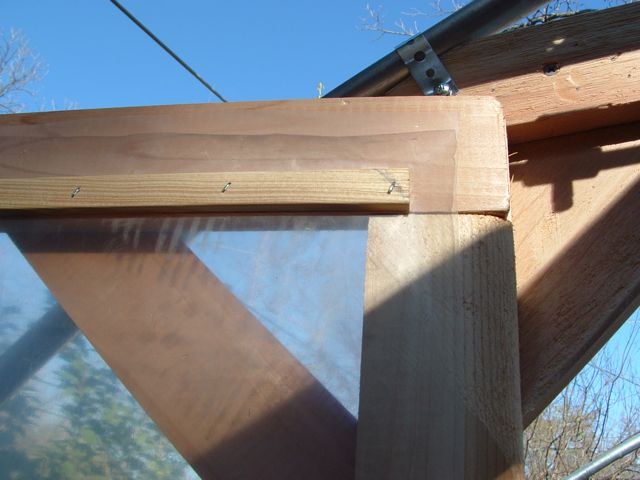
At last, time to put on the top and start growing some tomatoes.

So here we are. We've covered the ends and the sides. It's time to put on the top. It's the easiest part and the most satisfying because after this, we're done.
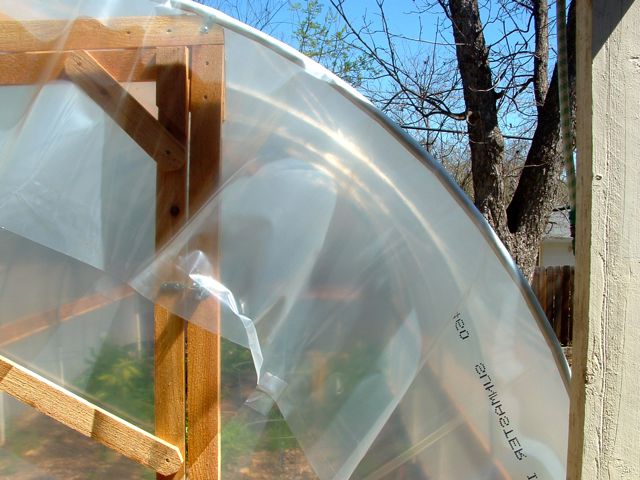
Resist the urge to put the top on first. Covering the ends first, leaves more surface area of the structure exposed for taping. If you put the top on first, you will only be able to tape the ends over the top instead of around the structural tubing where a more secure binding can be made. However, if you want to be able to remove the end coverings, then you might as well put them on last.
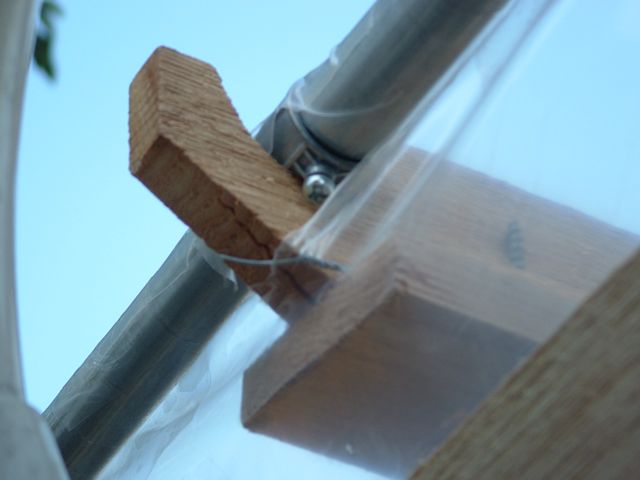
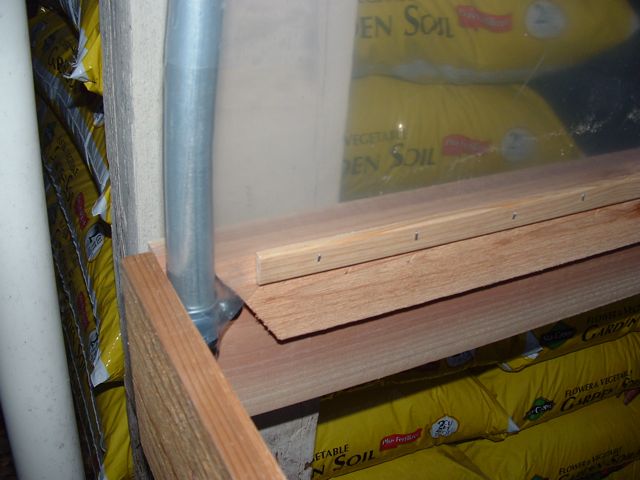
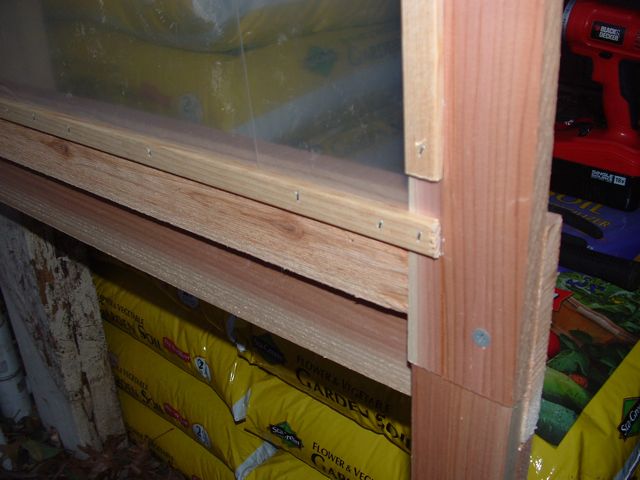
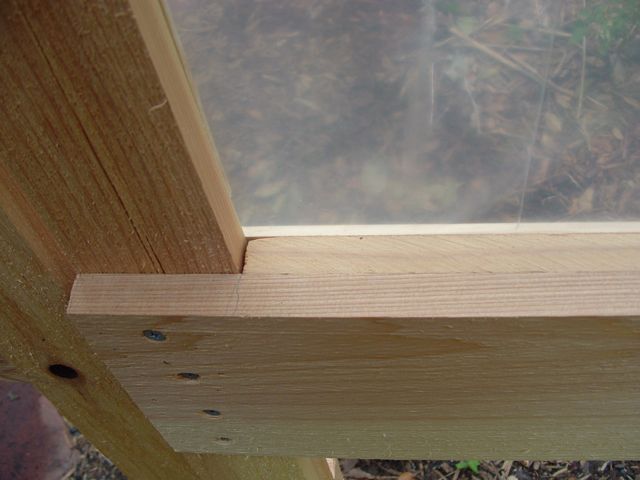
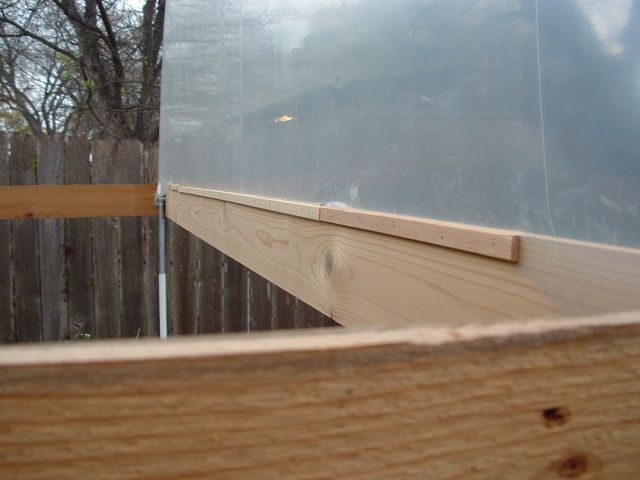
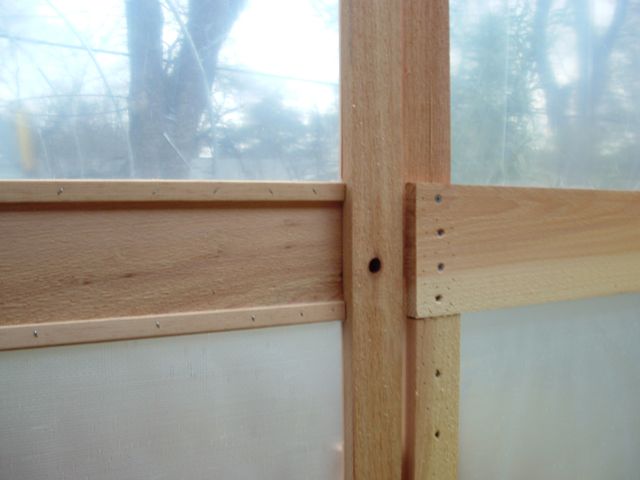
I began with the door. When attaching the film to the wood, just use some 1/8 inch by 3/4 inch trim and staple it down over film, sandwiching the film between the base wood and the trim.
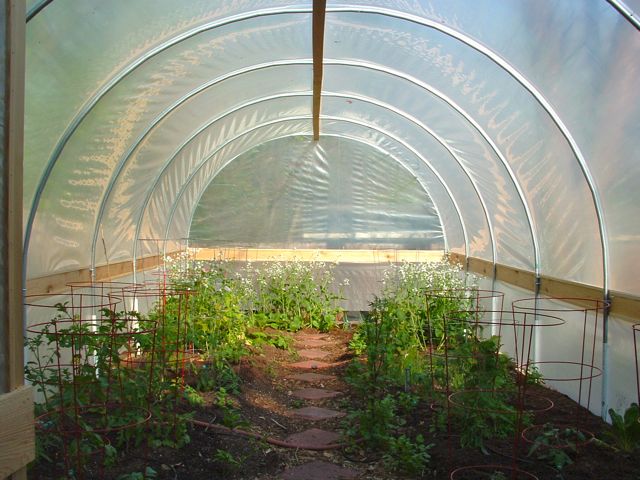
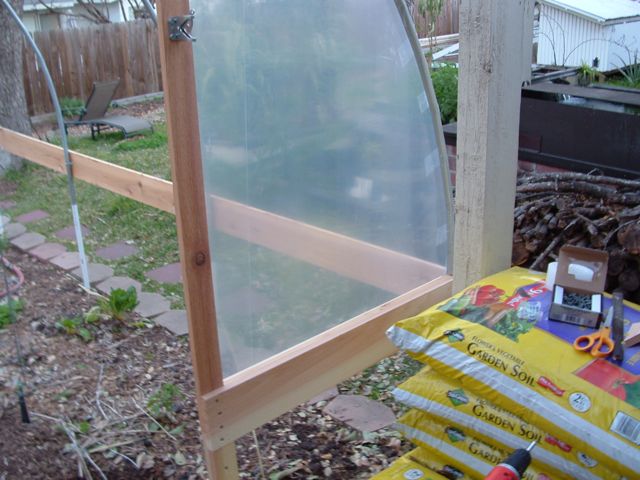
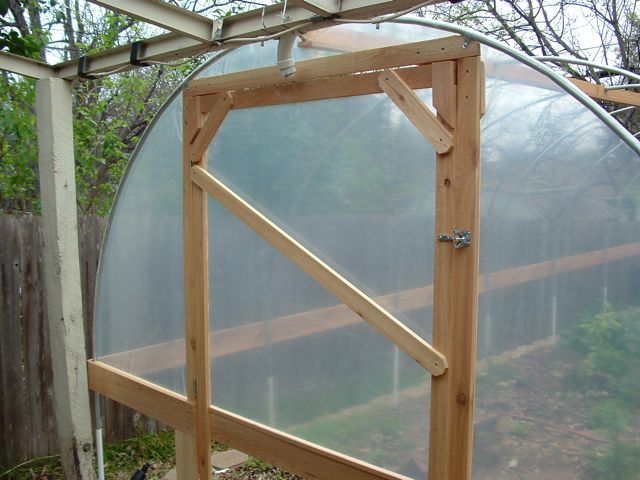
Now that the top and sides of the basic structure are completed, we're going to close up the ends and build the door frame and finally the door itself. I'll build the door 'in place' because the doorframe may not be perfectly square.
Flip through the slide show below to see the process.
Here, I've closed up both ends using the same method as I used on the sides. I'll cut out the middle of this front board when the door frame is done.
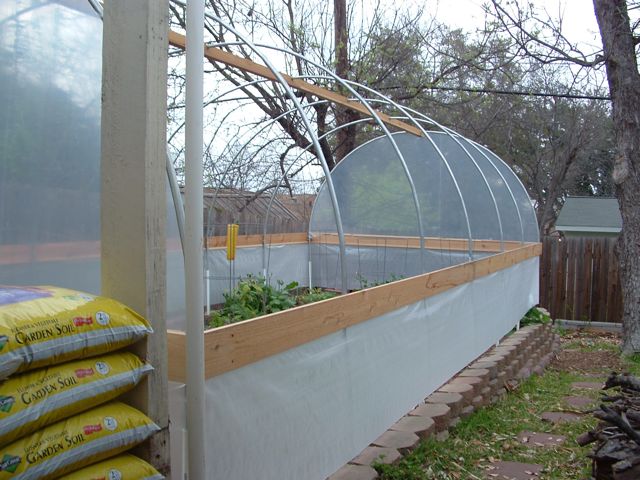
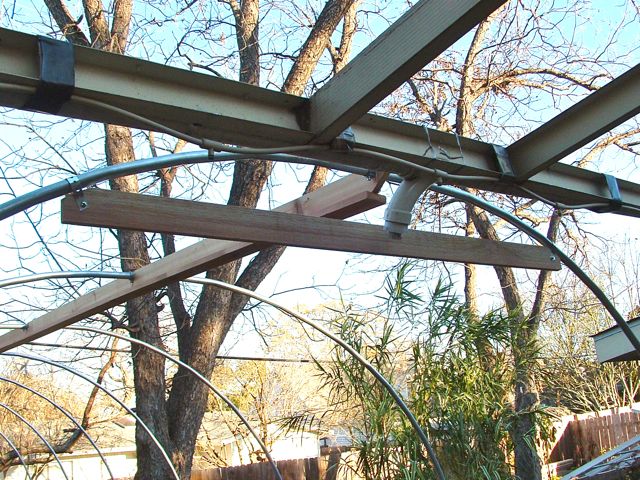
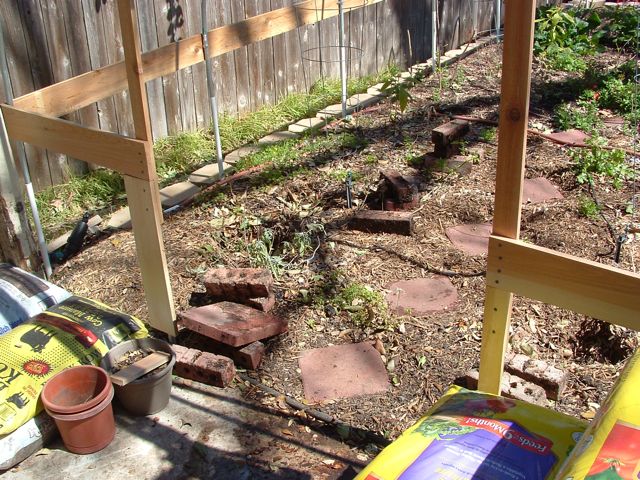
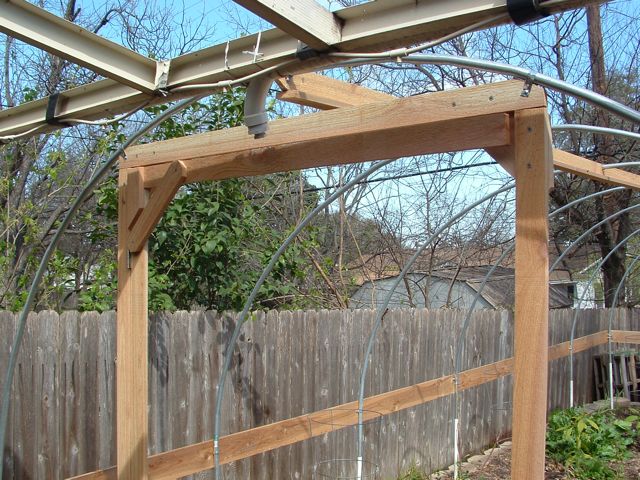
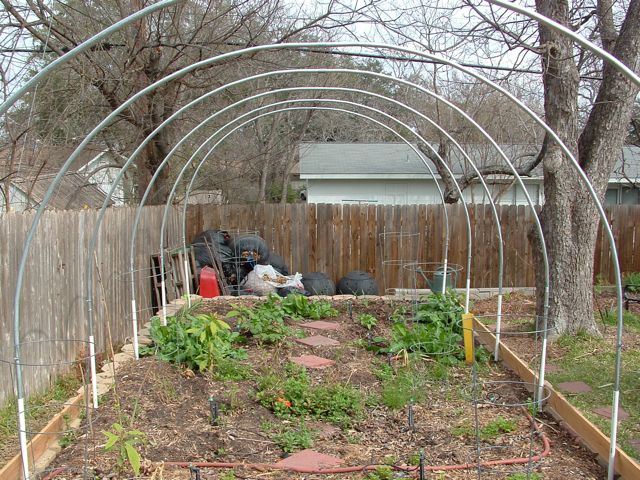
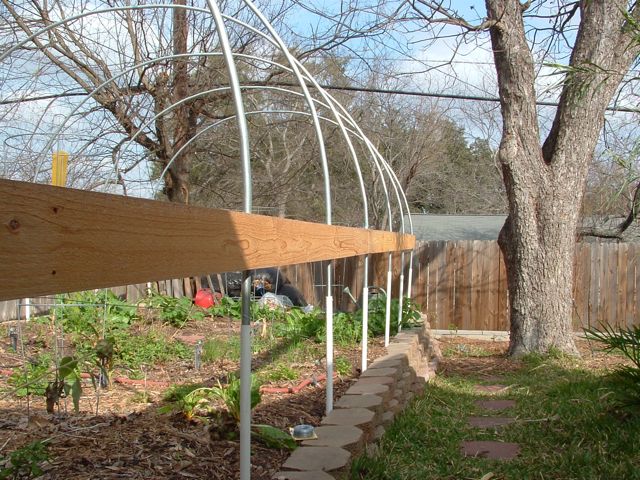
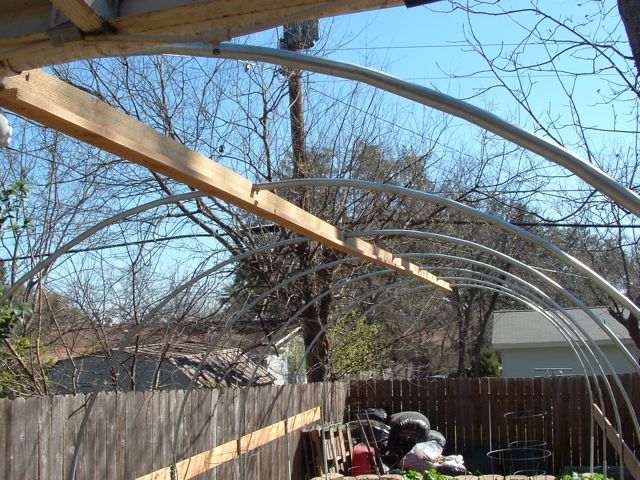
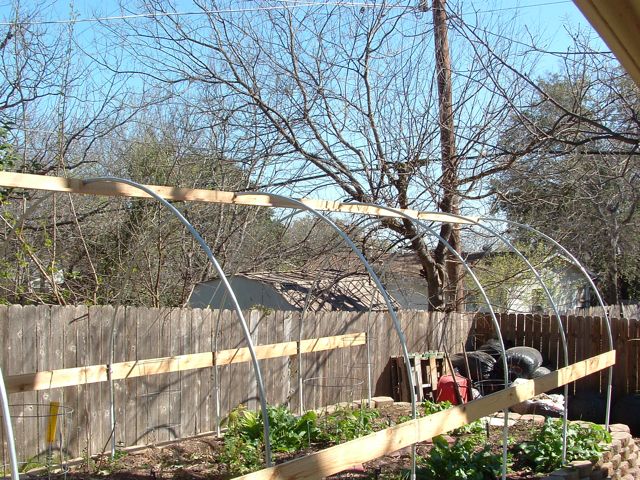
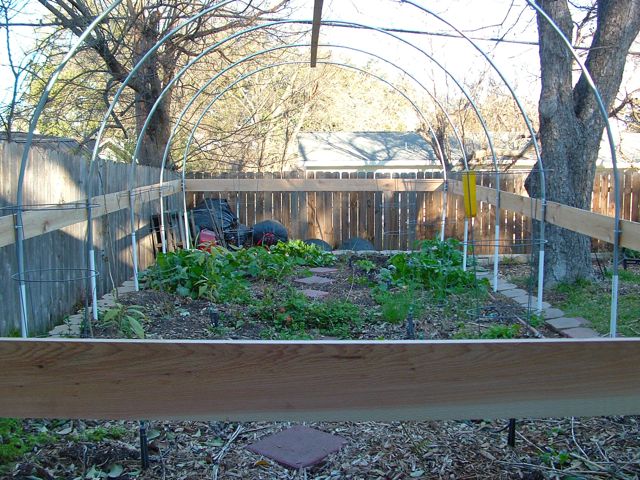
This is my greenhouse experiment. The 'high-tunnel' greenhouse design is just about the cheapest to build because it requires very little in the way of materials. This will be a 10' x 24' greenhouse built for around $500 over a few weekends.
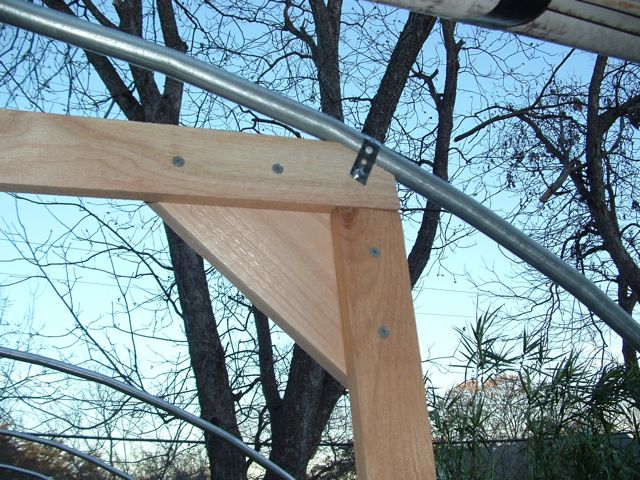
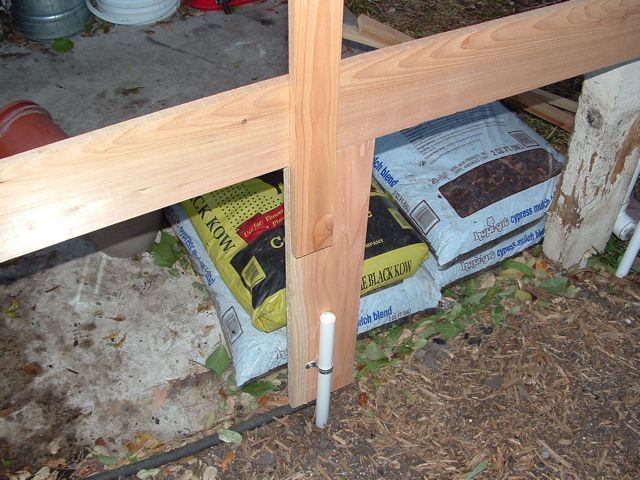
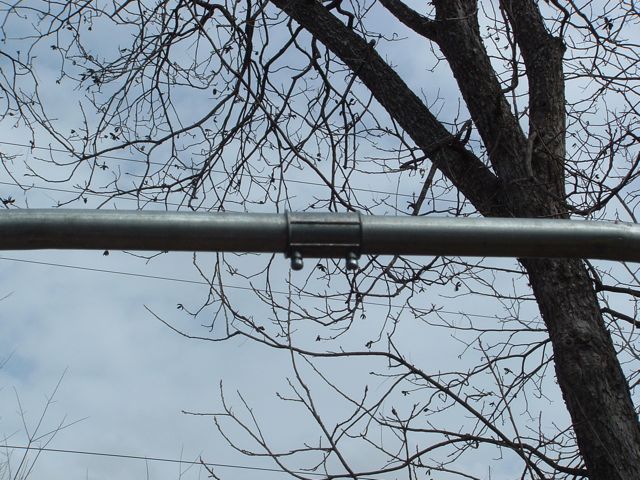
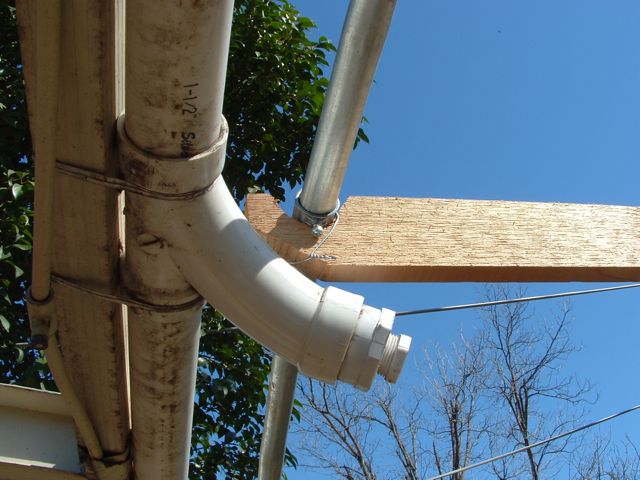
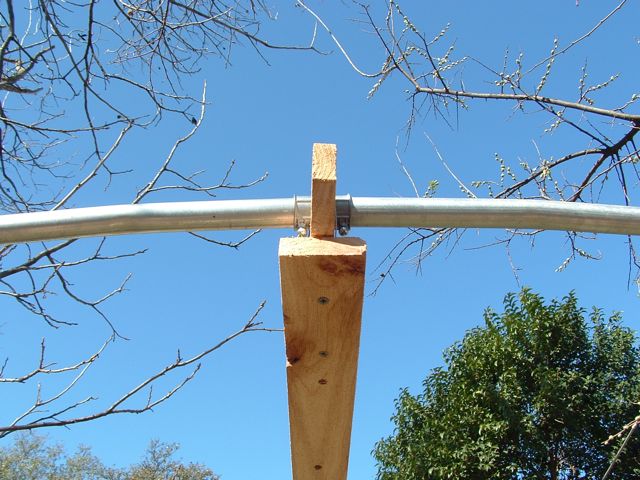
The tricky part in this design lies in finding precisely the right size of 3/4" PVC pipe. In this case, it's the inside diameter that we're concerned about. Measure your pipe carefully (before you buy it) and get the stuff that is between 29/32" and 15/16" ID. A lot of it will be 7/8 but skip those because you will not be able to insert the metal conduit. You want the stuff with the widest opening so the metal conduit (aided with a bit of WD-40) will slide in from 6" to 24" giving a lot of wiggle room in the positioning while giving a snug fit. I didn't find any that were too big.
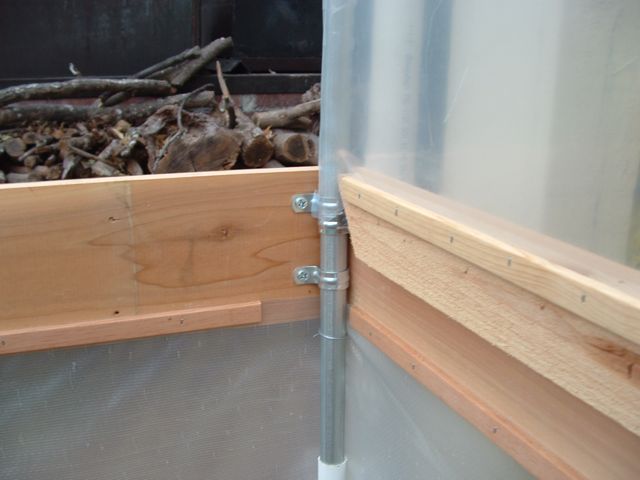
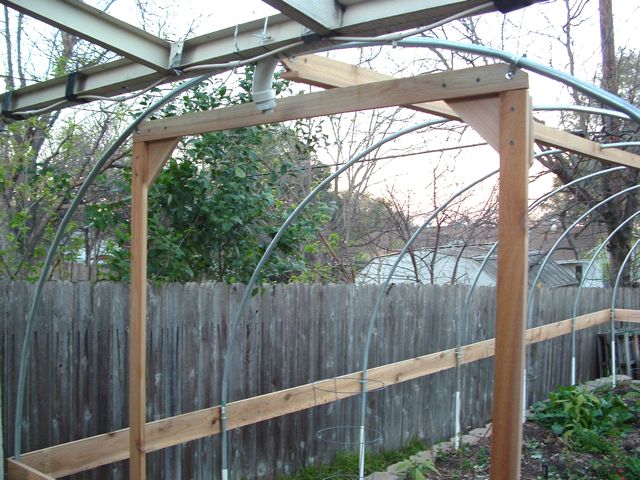
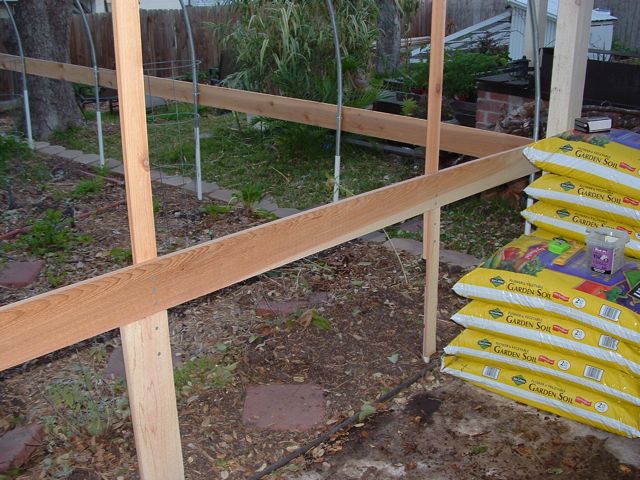
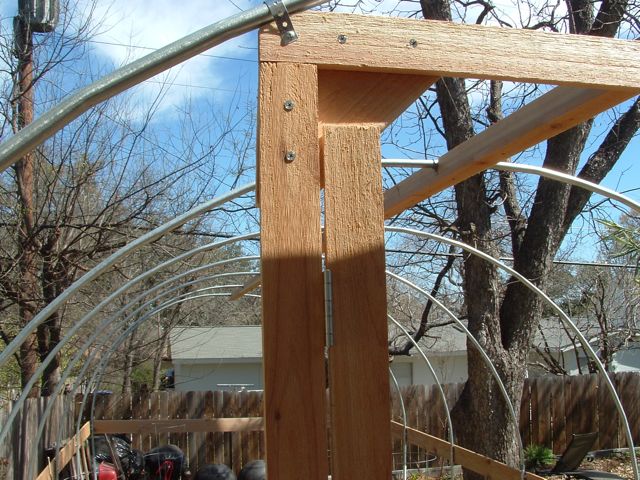
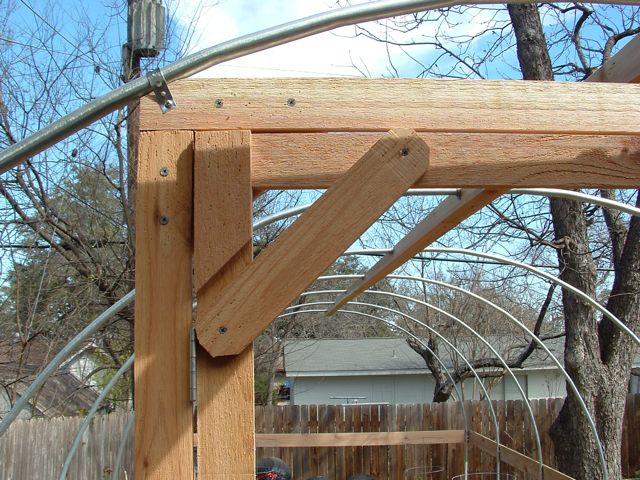
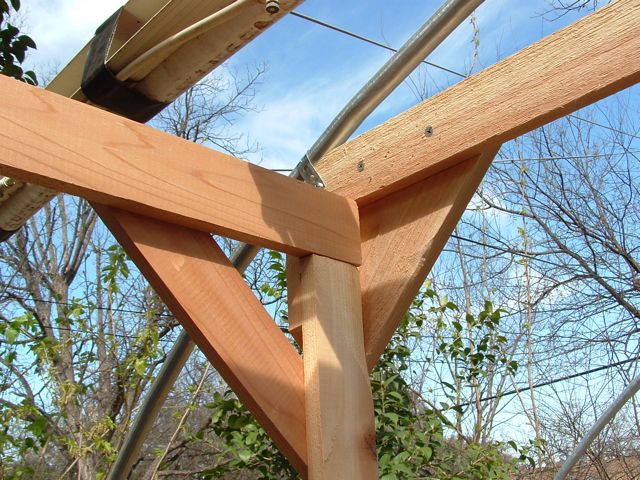
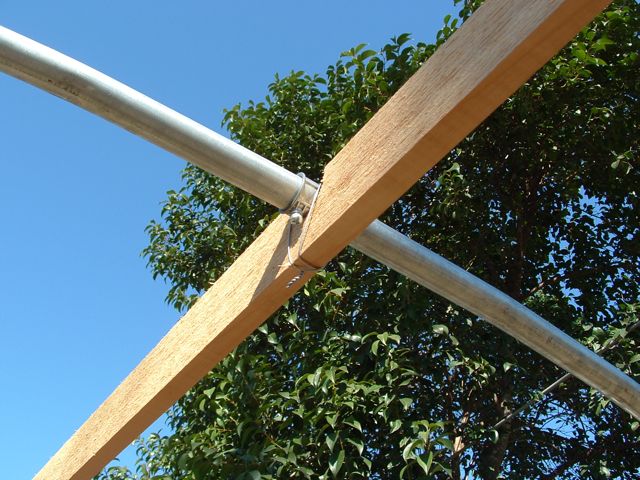
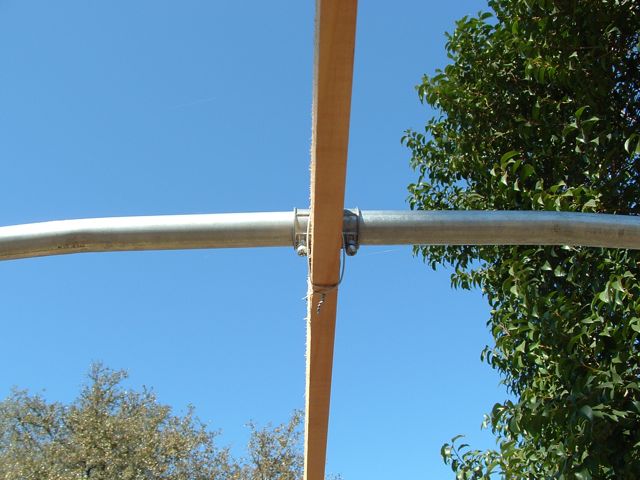
Flip through the gallery below to see part 1 (of 4?) of the construction process - framing the structure.
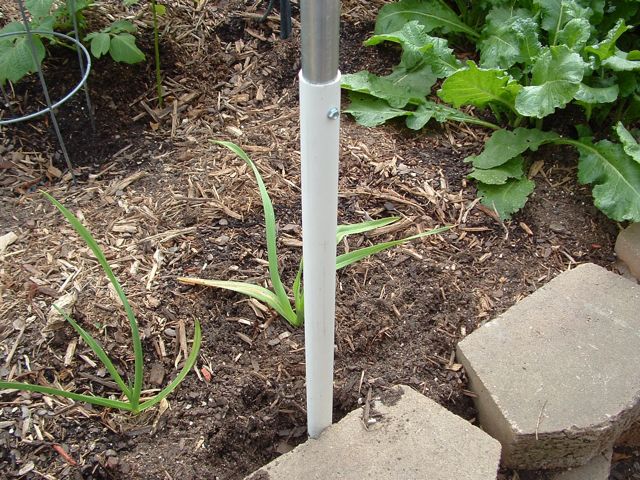
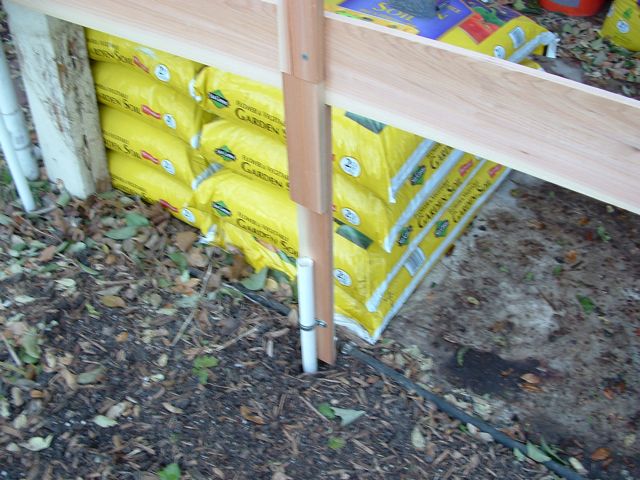
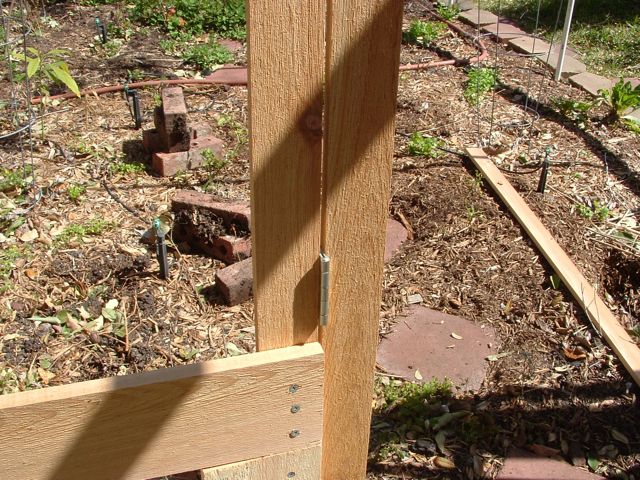
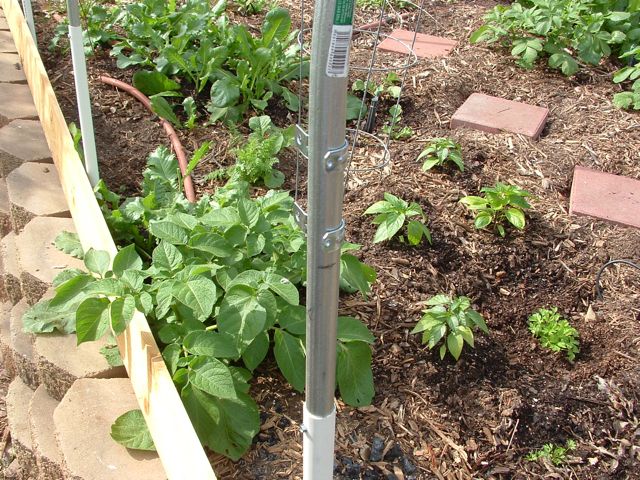
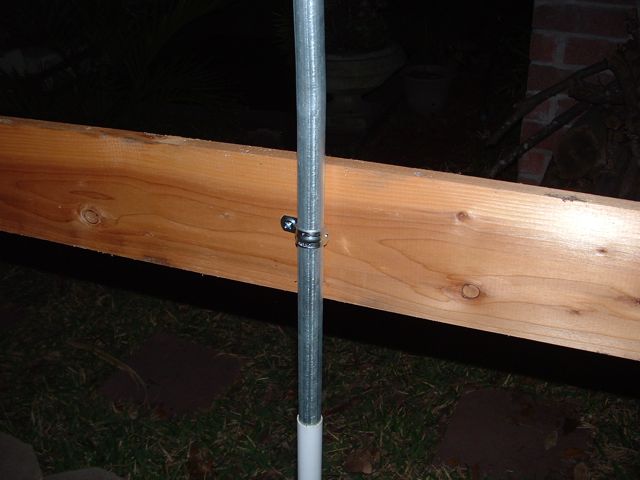
The first step is to stake out your greenhouse with PVC 'feet' and then go back and insert the metal conduit and set each one with a screw when you get them where you want them. The PVC should extend 1 to 2 feet deep to ensure stability since the structure is very light and has no heavy foundation to anchor it. Most of these are about 3 feet long with 18 inches in the ground and 18 inches above ground.
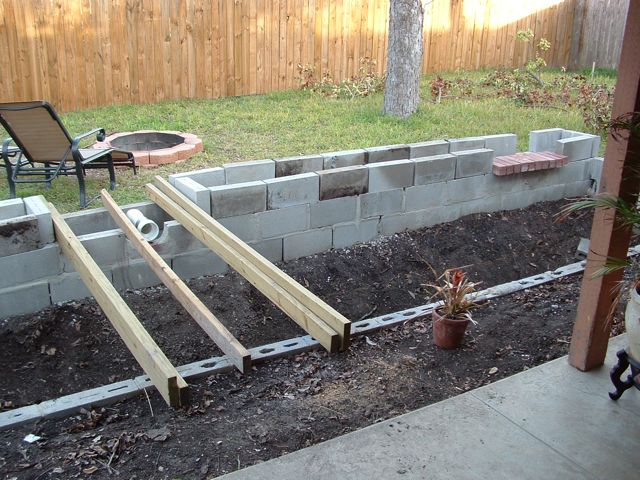
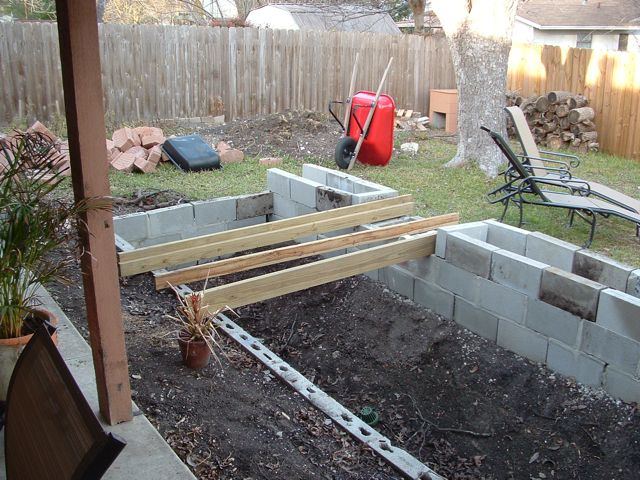
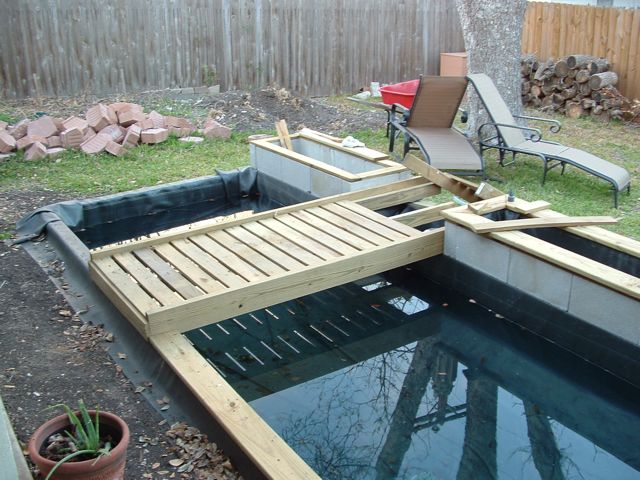
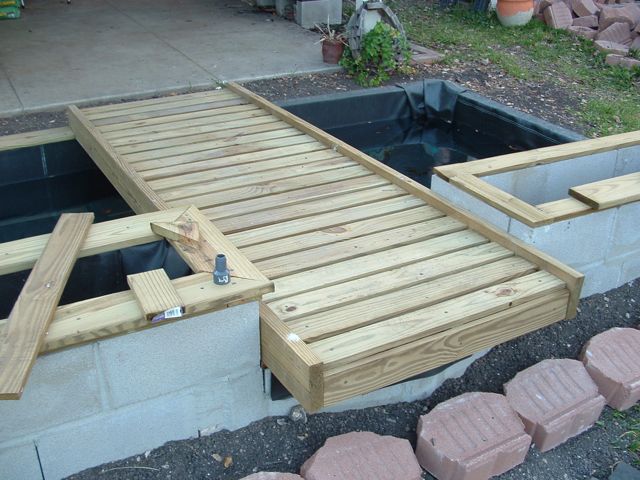
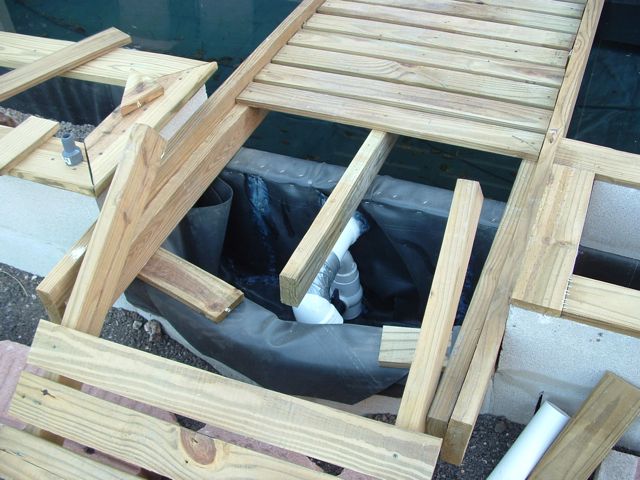
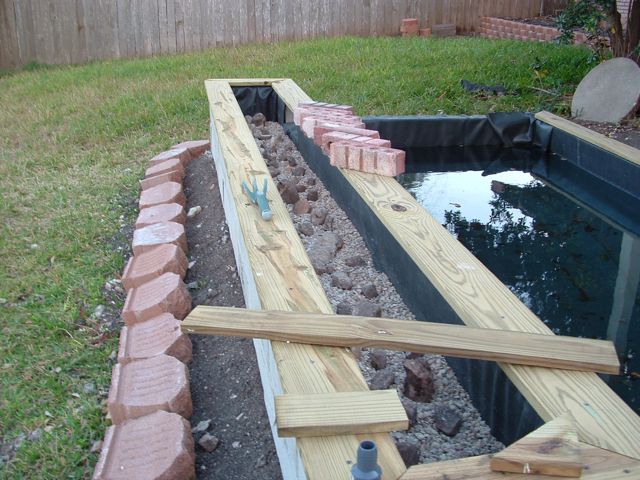
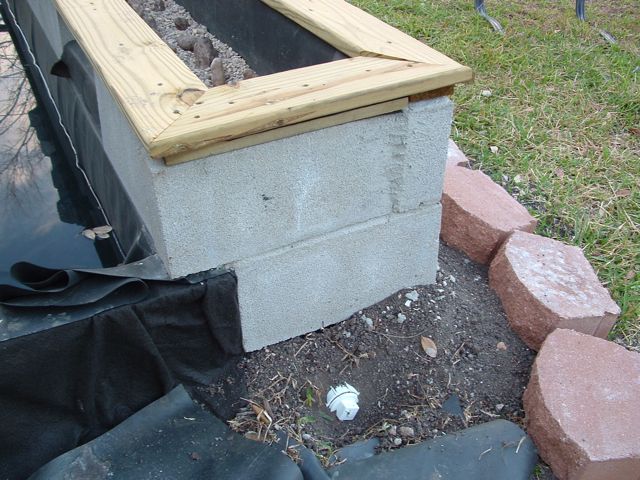
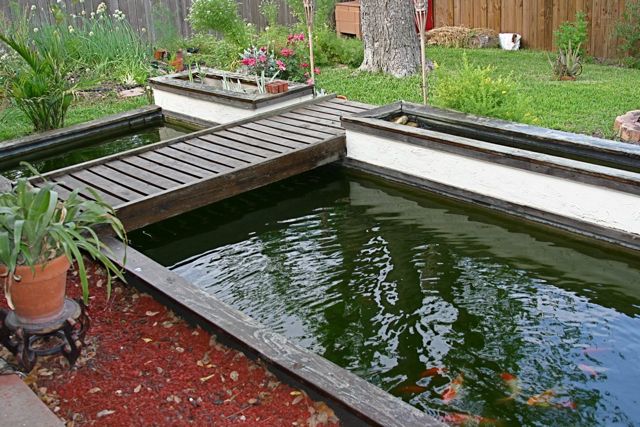
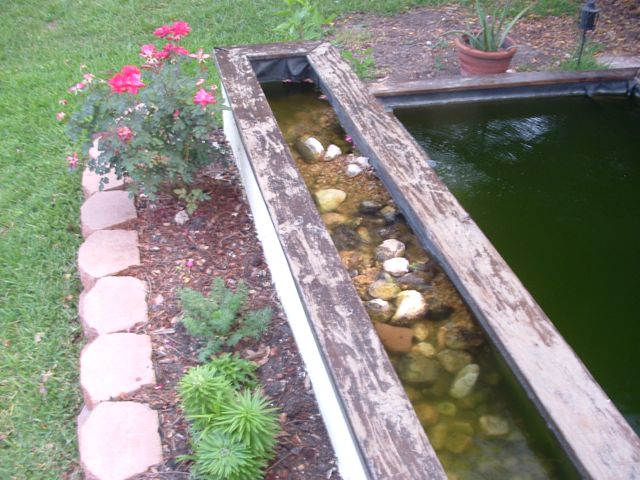
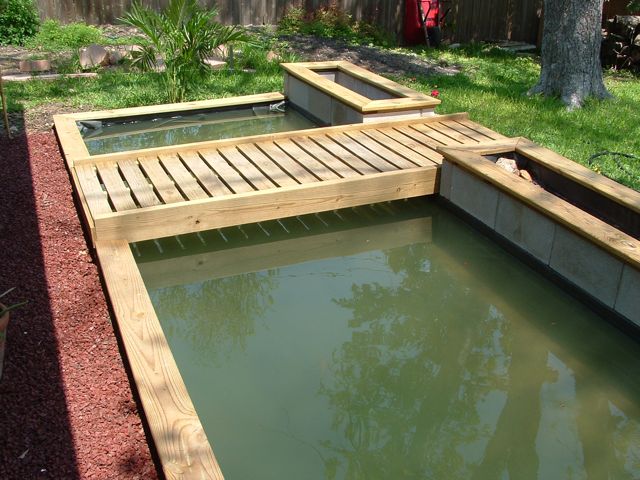
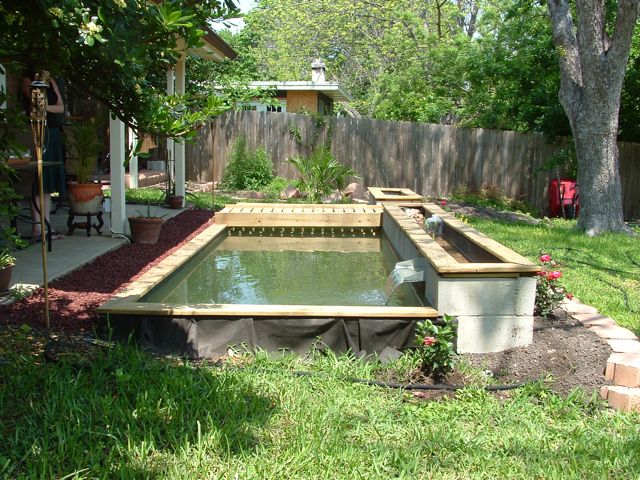
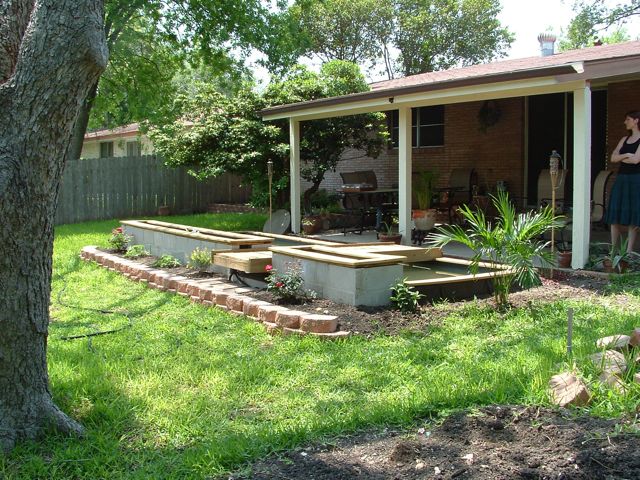
This is a follow-up post to my original koi pond post. Here, I've detailed the construction process with a few notes about lessons learned and so forth. I'll be doing another post that concentrates on the rest of what I've learned from this experiment. If you're looking to build your own pond, shoot me an email. I'd be happy to give you a free consultation and compare notes.
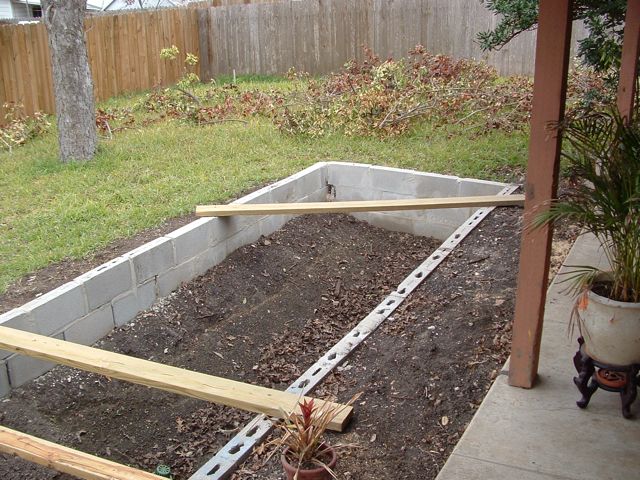
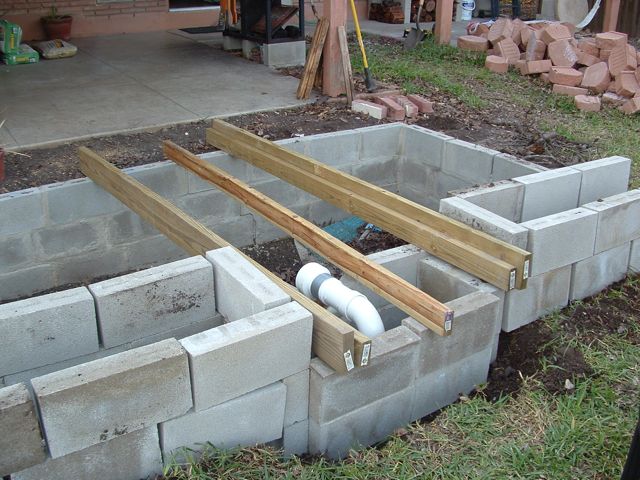
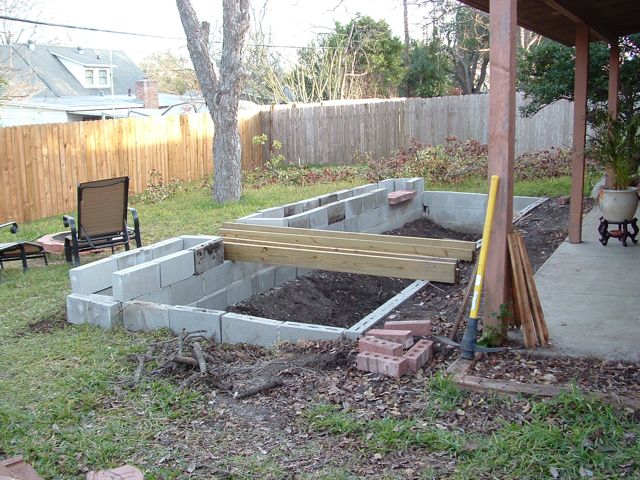
Naturally, it starts by digging a hole. We had some erosion problems near one corner of our house so I used the dirt to fill in that low spot. The sides of the pond were lined with cinder blocks with rebar driven through the blocks and into the ground for added stability. Hit the next button in the slide show above to see more.
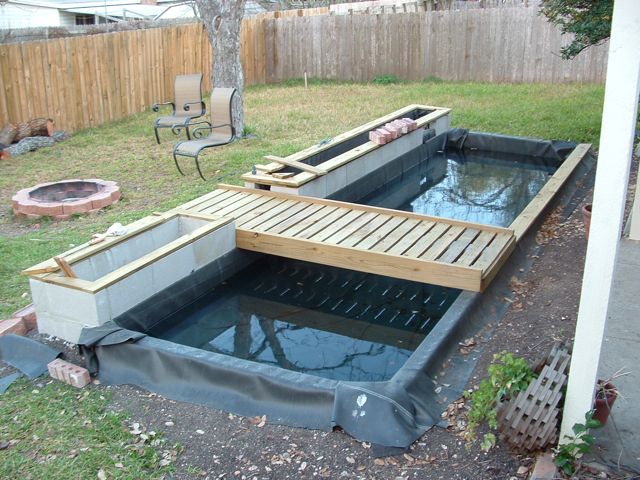
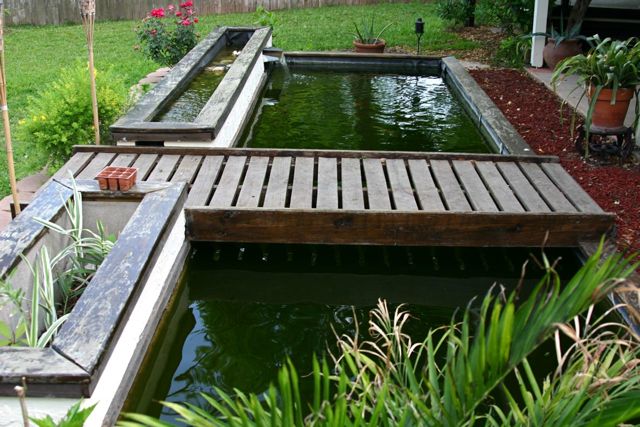
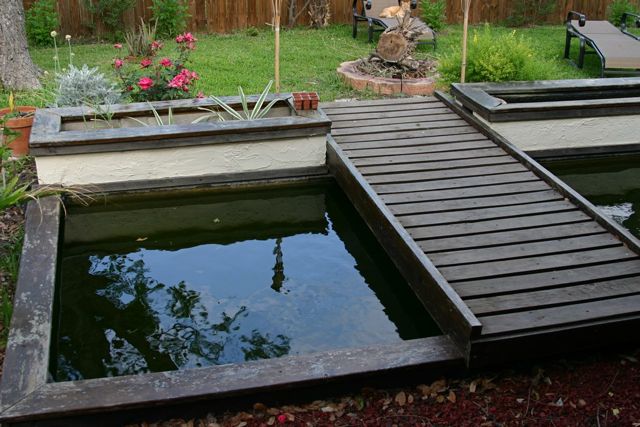
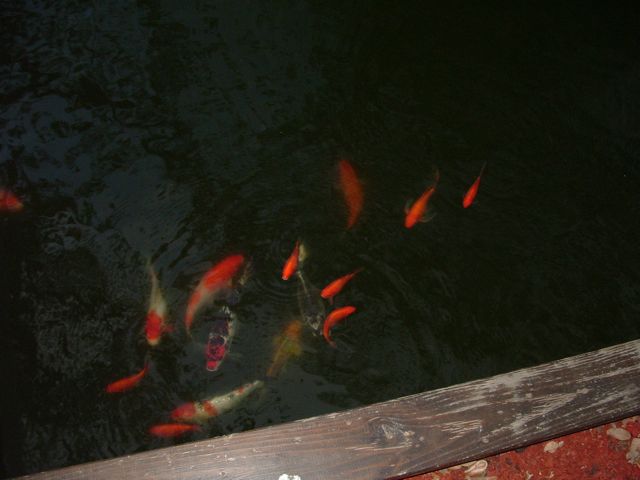
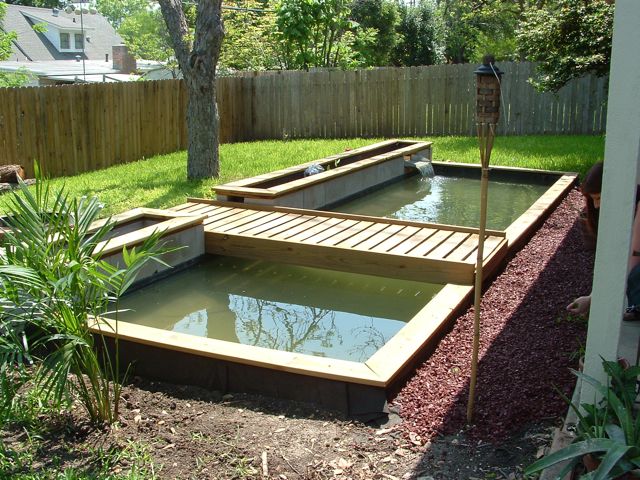
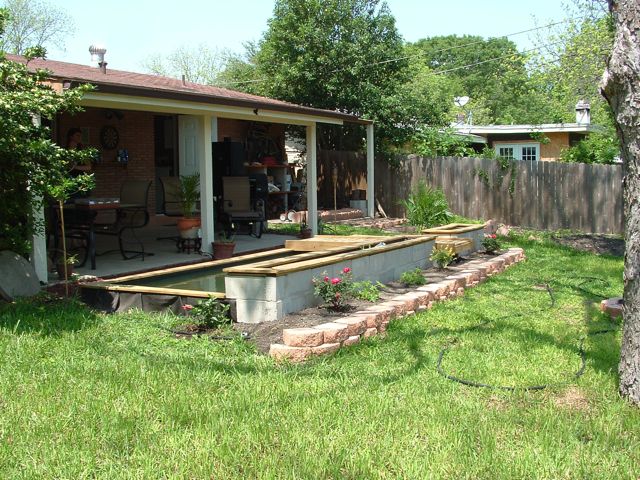
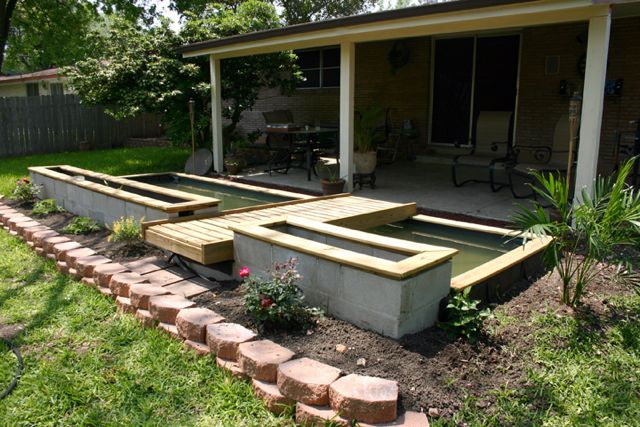
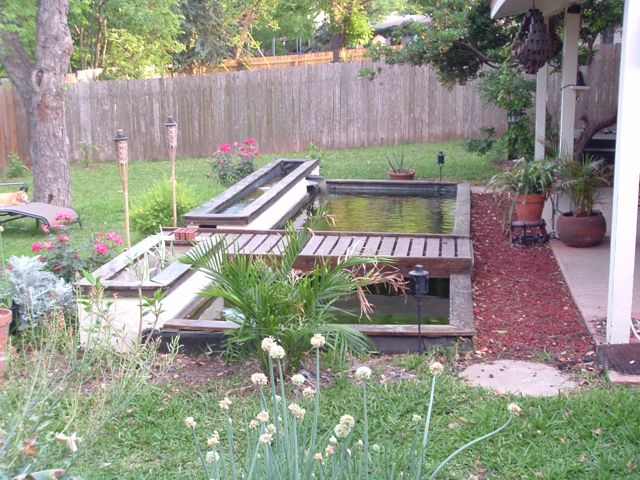
The pond project is now officially finished in the sense that I have done all the things I set out to do in the beginning. Of course, I will continue to experiment with it so in that sense it will probably never truly be finished.
I'll be adding a couple of updates later on - one devoted to the design and construction and another devoted to lessons learned and notes on usage.
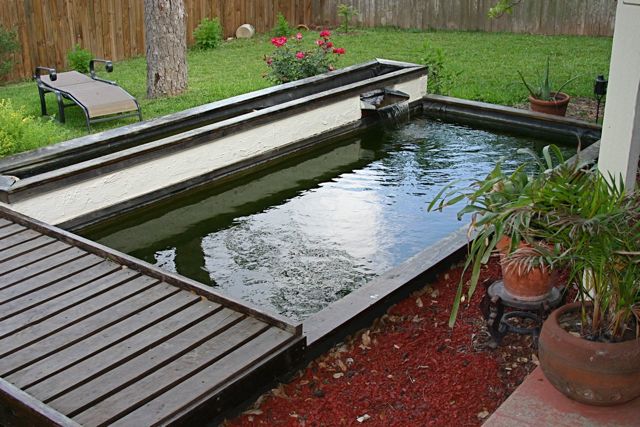
Hit the Next button in the slide show above to see the rest of this project.